You have bought a Starplast taxi light and are wondering how to connect it to your vehicle and taximeter? Follow our step-by-step guide to set up correctly and in compliance with your obligations your French-made taxi light.
The link between the taxi light and the taximeter
The taxi light is one of the mandatory pieces of equipment to have in your taxi vehicle. This one is the illuminated device attached to the front of the vehicle roof which bears the words “TAXI” in capital letters. It should clearly indicate to outsiders the occupancy status of the taxi, day and night:
- green light: free,
- red light: occupied,
- off: not in use.
It is compulsory to indicate the fare applied in the department. This is represented by illuminated letters: A, B, C and D, visible on the roof sign. These letters indicating the different fares in ascending order should be arranged in alphabetical order, from left to right for an observer in front of the taxi. Fares vary according to the area, and are therefore different in Paris and the provinces.
Starplast taxi light fits all taximeters
The taxi light is connected to the taximeter. The taxi driver indicates to outsiders the occupancy status of the vehicle by operating the taximeter. Both Starplast’s taxi lights : Universal and Full Led are compatible with all taximeters on the market, with no exception.
| Taximeters | Compatibility | Conditions | |
| Universal | Full Led | ||
| Kienzle | YES | YES | |
| Semel | YES | YES | |
| Digitax | YES | YES | |
| Ata Primus Power | YES | YES | |
| Ata Revolution Range | YES | YES | The application software of the ATA BOX must be version 01.16.
Programming of the taximeter :
|
| Hale Electronic | YES | YES | |
| Taxitronic | YES | YES | |
| Tetas | YES | YES | |
| Semitron | YES | YES | |
Starplast taxi lights fits all vehicles
Thanks to its accessories, the Starplast taxi light is also compatible with all types of vehicles:
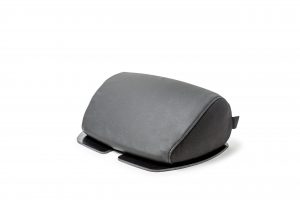
- With its magnetic skate kit, it fits on most steel car bodies.
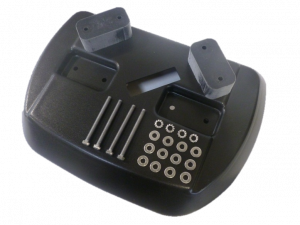
- A carries everything plate kit allows you to install it on the glass roof of your vehicle, or on an aluminium car body.
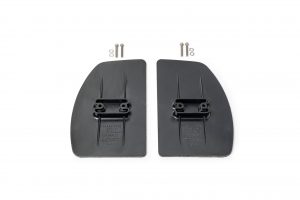
- The riser kit gives the taxi light more visibility if it is on a particularly high vehicle or if it is hidden by the roof bars (the regulations require that the fares should be visible from all sides).
|
|
You can also install the taxi light on roof racks with 3 options:
- the riser kit for roof rack,
- the magnetic plate kit for roof rack,
- the magnetic plate kit for roof rack with antenna support.
Installation of the taxi light
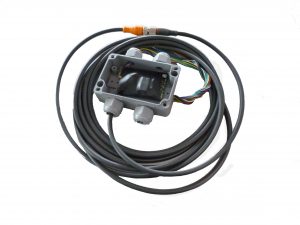
Connecting the cable to the taxi roof sign is simple. Follow these three steps:
- First, remove the 4 M6 screws that hold the top assembly to the cable clamp housing.
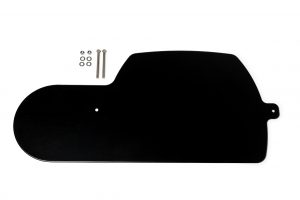
- To access the motherboard, unscrew the 4 drilled screws and remove the black anti-fraud plate.
- Then connect the cables to the connector, taking into account the version of the taxi light: plug-in, multiplexed plug-in or non-plug-in. To ensure a better connection, it is strongly recommended to remove the jumper and to solder the connectors together.
Available accessories
In addition to the three fixing accessories, Starplast offers a wide range of accessories to meet all your needs:
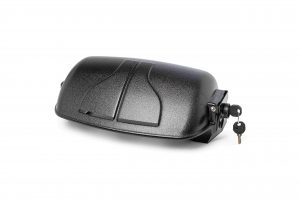
- the cover (when the taxi is not in use) available in soft and hard models,
- the plug-in kit, practical for periods of inactivity.
Available colours
The Universal is available in 9 colours: white, black, orange, azure blue, green, grey, fuchsia, red, yellow and dark blue. The Full Led version has the first seven colours to personalise your taxi light. The regulations allow you to choose your colour, subject to authorisation.
If you have any questions about the installation of your Starplast taxi light, please contact us via our form.

